
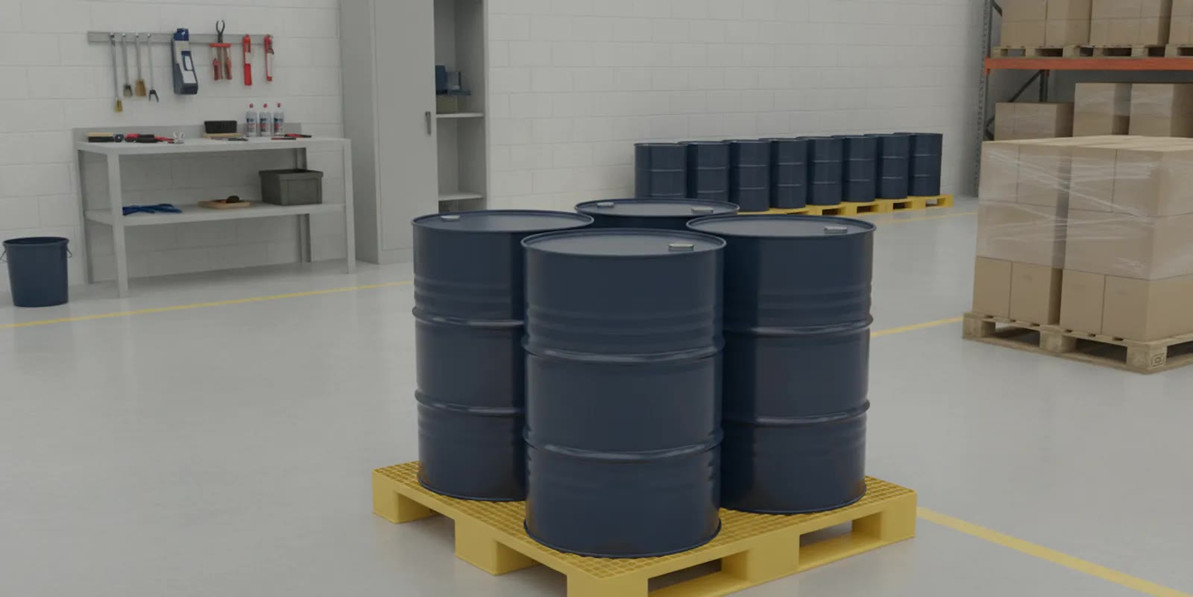
Drum Spill Containment Pallet: a decision guide for employers
A drum spill containment pallet helps a workplace collect leaks or spills beneath stored drums instead of letting liquid spread across a floor. Choosing one is not just a matter of counting drums. A buyer must match the pallet to the stored material, likely release scenario, handling method, location, and applicable environmental and workplace requirements. This guide explains what to check before selecting a drum spill containment pallet and how to keep its role clear in a broader spill-prevention plan.
Review a drum containment option
What protection does a drum spill containment pallet provide?
A containment pallet is a secondary containment device placed below drums. Its basin is intended to hold liquid that escapes from a container, subject to its rated capacity, condition, and the way it is used. It does not prevent a drum from leaking, replace sound storage practices, or eliminate the need for a response plan. Think of it as one layer in a system: compatible containers and closures, careful handling, appropriate containment, inspection, and a practiced response.
Start with the credible release scenario. Consider the number and size of containers, whether they are routinely connected to dispensing equipment, how often they are moved, and whether a damaged drum could drain into a floor drain or travel outside the storage area. Also consider the liquid’s hazards and what the site’s spill procedures require. A pallet that fits the footprint but cannot manage the relevant release is not a suitable choice.
Containment does not itself establish compliance. Requirements can depend on the material, quantity, storage arrangement, site, and applicable rules or permits. Confirm the governing requirements with the organization’s environmental health and safety lead and relevant authorities before purchasing. For general planning, the University of Michigan-Dearborn’s spill prevention and secondary containment guidance discusses spill pallets and access ramps.
How should you determine the capacity you need?
Capacity is a key screening criterion, but it should be checked against the actual installation and applicable rules rather than guessed from a product name. Inventory the containers that will sit on the pallet. Record each container’s nominal volume, the number stored at one time, and whether the arrangement changes during replenishment. Then review the pallet’s stated sump capacity and the site’s containment criteria.
Do not assume that a “two-drum” or “four-drum” label guarantees adequate containment for every situation. The drum count describes the intended arrangement, not necessarily the capacity decision for your particular inventory. A compliance plan may use a criterion based on the largest container, a proportion of the total stored volume, or another applicable standard. The correct criterion depends on the rules that govern your operation. Have the responsible EHS professional verify it.
| Buyer check | What to verify | Why it matters |
|---|---|---|
| Container inventory | Drum count, nominal sizes, and maximum stored quantity | Clarifies the expected storage arrangement and release scenario |
| Sump capacity | Manufacturer-stated liquid capacity and site-required criterion | Shows whether the selected unit meets the applicable containment plan |
| Footprint and access | Dimensions, aisle clearance, loading method, and drum spacing | Prevents conflicts with traffic, handling, and safe access |
| Material compatibility | Compatibility information for the pallet, grating, and stored liquid | Reduces risk of damage or loss of containment from incompatible materials |
| Drain and upkeep | Drain configuration, closure, inspection, and emptying procedure | Supports reliable containment and controlled maintenance |
Capacity can be reduced in practice if the unit is damaged, incorrectly assembled, or used in a way the manufacturer does not allow. Keep manufacturer documentation with the site’s evaluation. If the containers sit on a shared pallet, make sure the team understands which containers belong there and how the unit’s capacity is being managed. Avoid placing unrelated materials on it simply because floor space is available.
Which pallet material and design should you compare?
Material selection begins with the liquid. Review manufacturer compatibility information for the exact chemical or fluid, including mixtures and cleaning products that might contact the pallet during use. Do not infer compatibility from color or from a general label such as “chemical resistant.” If the documentation is unclear, ask the pallet manufacturer or supplier for written guidance and have EHS review the answer.
Polyethylene pallets are commonly considered for many liquids, while other designs and materials may suit different applications. No material is universally compatible. Temperature, concentration, exposure duration, sunlight, and impact can affect performance. Confirm the complete assembly: basin, grating, drain fittings, and any accessories that could contact the liquid.
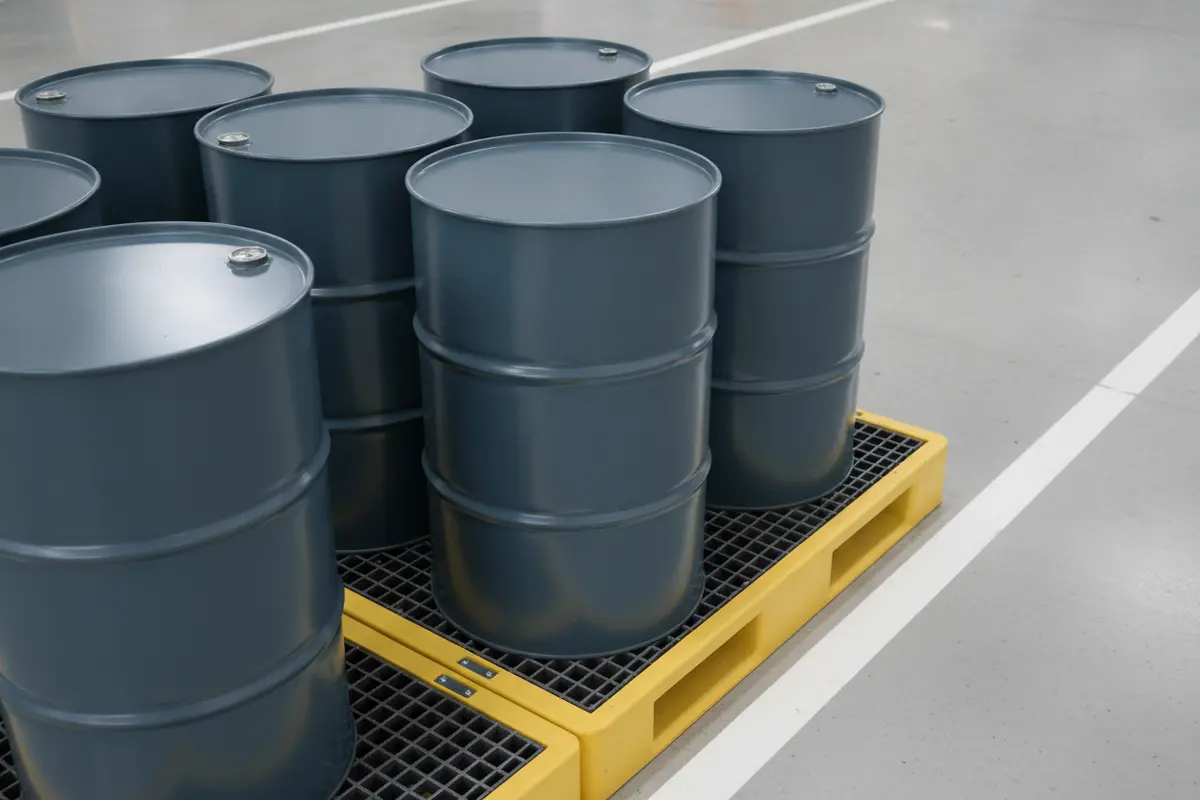
Design choices also change daily use. A removable grating can provide a platform for drums while allowing access to the sump for inspection and cleaning. A drain may make controlled emptying more convenient, but it must remain closed and managed according to site procedures. A ramp can support loading where the chosen unit and handling method allow it; verify load ratings and equipment compatibility before use. For drums handled by forklift, confirm the pallet design supports the planned approach and does not create an unstable or obstructed lift. Compare product features with a two-drum accumulation center listing, while confirming its specifications suit your application.
Where should the pallet be placed?
Choose a location based on the work process, not just available floor space. Keep it near the point of use when that reduces unnecessary drum movement, but outside routes where vehicles, falling objects, heat, or routine impacts could damage containers or the pallet. Maintain clear access for inspection and for safe loading and removal. Do not block exits, eyewash or emergency equipment, electrical panels, or required aisles.
Consider the path a spill could take. Nearby floor drains, doors, slopes, and outdoor exposure can change the consequences of a release. The containment pallet should be positioned so it does not create a new trip or traffic hazard and so workers can identify a leak promptly. If the pallet is outdoors, check whether the design is intended for outdoor conditions and how rainwater, weather, and accumulated liquid will be handled under the facility’s procedures. Do not drain or discharge collected liquid without determining its nature and following applicable requirements.
Use labels or a site map to make the permitted drum arrangement clear. Keep incompatible materials segregated as required by the facility’s chemical storage practices. A containment pallet is not a substitute for separation, ventilation, temperature control, or other controls that a hazard assessment identifies.
How do handling and dispensing affect the choice?
Evaluate the full movement cycle: receiving, unloading, storage, dispensing, and removal. Check the combined load against the pallet’s rated capacity and the handling equipment. Look at fork-entry direction, pallet dimensions, grating support, and whether the operator has a clear line of sight. Do not lift or move a loaded unit unless the manufacturer permits that method.
For dispensing, consider where a tap or pump will sit and whether drips will land within the containment area. Ensure a worker can operate the equipment without leaning over an unstable load or creating a blocked walkway. If the process uses a hose, verify that it can be routed without pinching, snagging, or being struck by traffic. Include spill cleanup supplies suited to the liquid and make sure responders know where they are kept. A spill-control absorbent option may be appropriate for certain oil-only applications; check product details and compatibility for the material involved. An additional petroleum sorbent pad option can be evaluated for relevant cleanup needs.
Train authorized staff on the intended arrangement, inspection routine, and response steps. Training should cover what to do if a container leaks, whom to notify, how to isolate the area, and how to handle collected material under site procedures. Workers should not be asked to clean an unknown or hazardous release without appropriate direction, equipment, and training. See related spill-control supplies when reviewing the facility’s response inventory.
What should inspections and upkeep include?
Set an inspection frequency based on the hazards, use, manufacturer instructions, and site requirements. A routine visual check should look for cracks, deformation, corrosion where relevant, damaged grating, blocked or leaking drain fittings, and evidence of residue or liquid in the sump. Check that drums are upright, closed, stable, and within the designated arrangement. Document findings and corrections so recurring damage or housekeeping issues can be addressed.
- Inspect the pallet and grating before placing drums and during scheduled area checks.
- Investigate unexplained liquid in the sump; identify it before deciding how to manage it.
- Keep the drain closed except during a controlled procedure authorized by the site.
- Remove residue and accumulated material using the facility’s approved process.
- Take a damaged unit out of service and replace or repair it as the manufacturer directs.
- Revisit capacity and compatibility whenever the stored material or drum layout changes.
Rainwater can complicate outdoor containment because it may occupy available sump volume. Follow the site’s procedure for inspection and removal, and determine the nature of collected liquid before disposal. Never treat a drain as permission to release contents to the environment. The employer’s environmental procedures and applicable rules govern handling and disposal.
How can a buyer compare options before ordering?
Use a short written specification to make quotations comparable. Include the material to be stored, maximum number and size of drums, required containment capacity, indoor or outdoor placement, loading method, desired access features, and compatibility documentation. Ask for the unit’s dimensions, rated load, sump capacity, assembly instructions, maintenance guidance, and any restrictions on moving it while loaded. For broader supply planning, review petroleum sorbent pads alongside the containment decision, without treating absorbents as a substitute for secondary containment.
Compare the total fit, not one feature in isolation. A larger basin may consume aisle space; a ramp may improve access but require a suitable loading route; a drain may simplify controlled maintenance but adds a component that must be kept secure. The table below can help teams record the decision:
| Comparison point | Option A | Option B | Decision note |
|---|---|---|---|
| Capacity and footprint | Record manufacturer data | Record manufacturer data | Meets site criterion and fits location? |
| Material compatibility | Document confirmed materials | Document confirmed materials | Supported for stored fluid and conditions? |
| Loading and access | Forklift, ramp, or manual approach | Forklift, ramp, or manual approach | Safe and permitted for this arrangement? |
| Maintenance features | Grating, drain, inspection access | Grating, drain, inspection access | Fits site procedures and staffing? |
Keep the evaluation with the purchasing and EHS records. If a product is being selected for a regulated storage area, have the person responsible for compliance sign off before ordering. Product descriptions are useful for narrowing choices, but they do not replace an assessment of the particular material and workplace.
What are common selection mistakes?
- Choosing by drum count alone: Confirm sump capacity and the applicable containment criterion.
- Assuming all liquids are compatible: Check the exact material, concentration, temperature, and contact conditions.
- Ignoring handling: Verify loading dimensions, load ratings, and movement procedures.
- Placing it wherever it fits: Review drains, traffic, exits, access, weather, and emergency equipment.
- Leaving the sump unmanaged: Inspect for leaks and accumulation; follow the site’s controlled removal procedure.
- Treating containment as the whole plan: Maintain container integrity, training, response supplies, and applicable environmental controls.
These checks are especially important when a storage area changes. New chemicals, larger drums, different dispensing equipment, or a move outdoors can invalidate the assumptions behind the original selection. Reassess the arrangement whenever those conditions change.
For a practical planning reference, the University of Texas environmental health and safety SPCC plan describes a campus practice using spill pallets to contain potential drum releases; treat it as an example, not a substitute for requirements that apply at your site.
What work steps make selection easier?
A short, repeatable assessment makes decisions easier to review and hand off. Begin by walking the storage and dispensing area with the people who receive and use the drums. Ask them where containers arrive, how they are moved, when they are opened, and what tends to obstruct the work. A drawing made from the site plan can note drains, doorways, aisle widths, equipment paths, and emergency stations. Mark the proposed pallet footprint before ordering. This simple check can expose a turning-radius or access issue that is hard to see in a product listing.
Next, build a written inventory. For each fluid, record its identity from the safety data sheet, container size, maximum quantity, normal storage position, and dispensing method. Identify whether drums are changed one at a time or staged in batches. If multiple materials might share a pallet, confirm both chemical compatibility and site segregation rules instead of assuming that the same physical basin is acceptable for all of them. Ask EHS to resolve uncertain compatibility or capacity questions before a purchase is approved.
Then compare at least the dimensions, sump volume, rated load, materials, grating, drain arrangement, and permitted handling method for each candidate. Keep the manufacturer’s documentation with the evaluation, and write down why the selected model fits the scenario. If a ramp is needed, check the ramp and pallet together rather than treating them as independent items. Confirm that the ramp does not interfere with a door, aisle, or adjacent equipment and that the loading method is within the manufacturer’s stated limits.
Finally, plan the first inspection and the response before the pallet is put into service. Decide who checks the unit, where findings are recorded, who is called when a leak appears, and how collected material will be identified and managed. Tell the receiving team which drum arrangement is allowed. A new pallet should not enter service until the area is ready, the intended use is clear, and site procedures cover ordinary inspection as well as an abnormal release.
How do you keep the decision useful as conditions change?
A selection decision is based on assumptions, and those assumptions can change. Revisit the review when the site introduces a new fluid, changes concentration or temperature, adds a drum position, shifts to a different dispensing pump, relocates the unit, or changes from indoor to outdoor storage. Also recheck after a spill, impact, or repair. A short change log can record what changed, who reviewed it, and whether the existing pallet remains suitable.
For example, a two-drum work area may become a four-drum staging point during a busy receiving period. The footprint may still look adequate, but the maximum stored volume and potential release scenario have changed. Similarly, a pallet that works for closed drums in a quiet storage zone may not fit a frequently accessed dispensing station where hoses, taps, and worker movement introduce new concerns. Evaluate the real operating pattern rather than only the neat arrangement shown in a catalog photograph.
Keep the roles distinct: the pallet collects escaped liquid within its limits, containers and closures reduce the chance of a release, safe handling reduces impact risks, and the response plan guides people after a leak. Documenting these separate controls makes it easier to spot a gap instead of expecting one device to solve every part of spill prevention.
Call to discuss spill-control selection
Frequently asked questions
Does a spill containment pallet guarantee regulatory compliance?
No. Compliance depends on the materials, quantities, storage arrangement, location, and applicable rules. Use the pallet as one element in a documented site assessment and confirm requirements with the responsible EHS professional.
Can one pallet hold different types of drums?
Only if the pallet’s capacity, dimensions, material compatibility, and the site’s segregation practices support that arrangement. Confirm compatibility and do not use shared containment where it conflicts with chemical storage requirements.
Should I choose a pallet with a drain?
That depends on the facility’s maintenance process and the unit’s design. A drain can aid controlled emptying, but it must be secured and managed to prevent an uncontrolled release. Confirm the procedure and applicable requirements before choosing.
How often should I inspect the pallet?
Set a schedule based on manufacturer instructions, site rules, and the hazards and activity in the area. Inspect promptly after an impact, a leak, or any change in the storage arrangement.
For a sound choice, document the liquid and storage scenario, verify capacity and compatibility, and confirm the location and handling plan with your EHS lead before placing the pallet into service.
Recent Posts
-

Drum Spill Containment Pallet: a decision guide for employers
A drum spill containment pallet helps a workplace collect leaks or spills beneath stored drums inste …Oct 26th 2026 -

Trauma Kits: Selecting Emergency Response Supplies for Workplaces
A trauma kit can help a workplace prepare for severe bleeding and other serious injuries while emerg …Oct 26th 2026 -

Chemical Storage Cabinets for industrial work: use and compliance
Chemical storage cabinets help workplaces control access to hazardous materials and keep storage con …Oct 23rd 2026